Zack’s Acrylic Pour & How we did it
What is Acrylic Pour?
Acrylic Pour is a painting technique that creates fluid abstract art. Techniques and ingredients can vary, but essentially acrylic paint is poured in layers throughout the canvas, then the paint is manipulated with a blow dryer. It’s slow drying because the consistency of the paint is thicker than water.
Sounds wild right? It’s painting without a paint brush and the paintings look cosmic. I had to try it.
I made three paintings then thought this could be a fun mommy and me project. It’s messy, unconventional, quick and rewarding. Also Zack loves art, so I want to expose him to different forms of it.
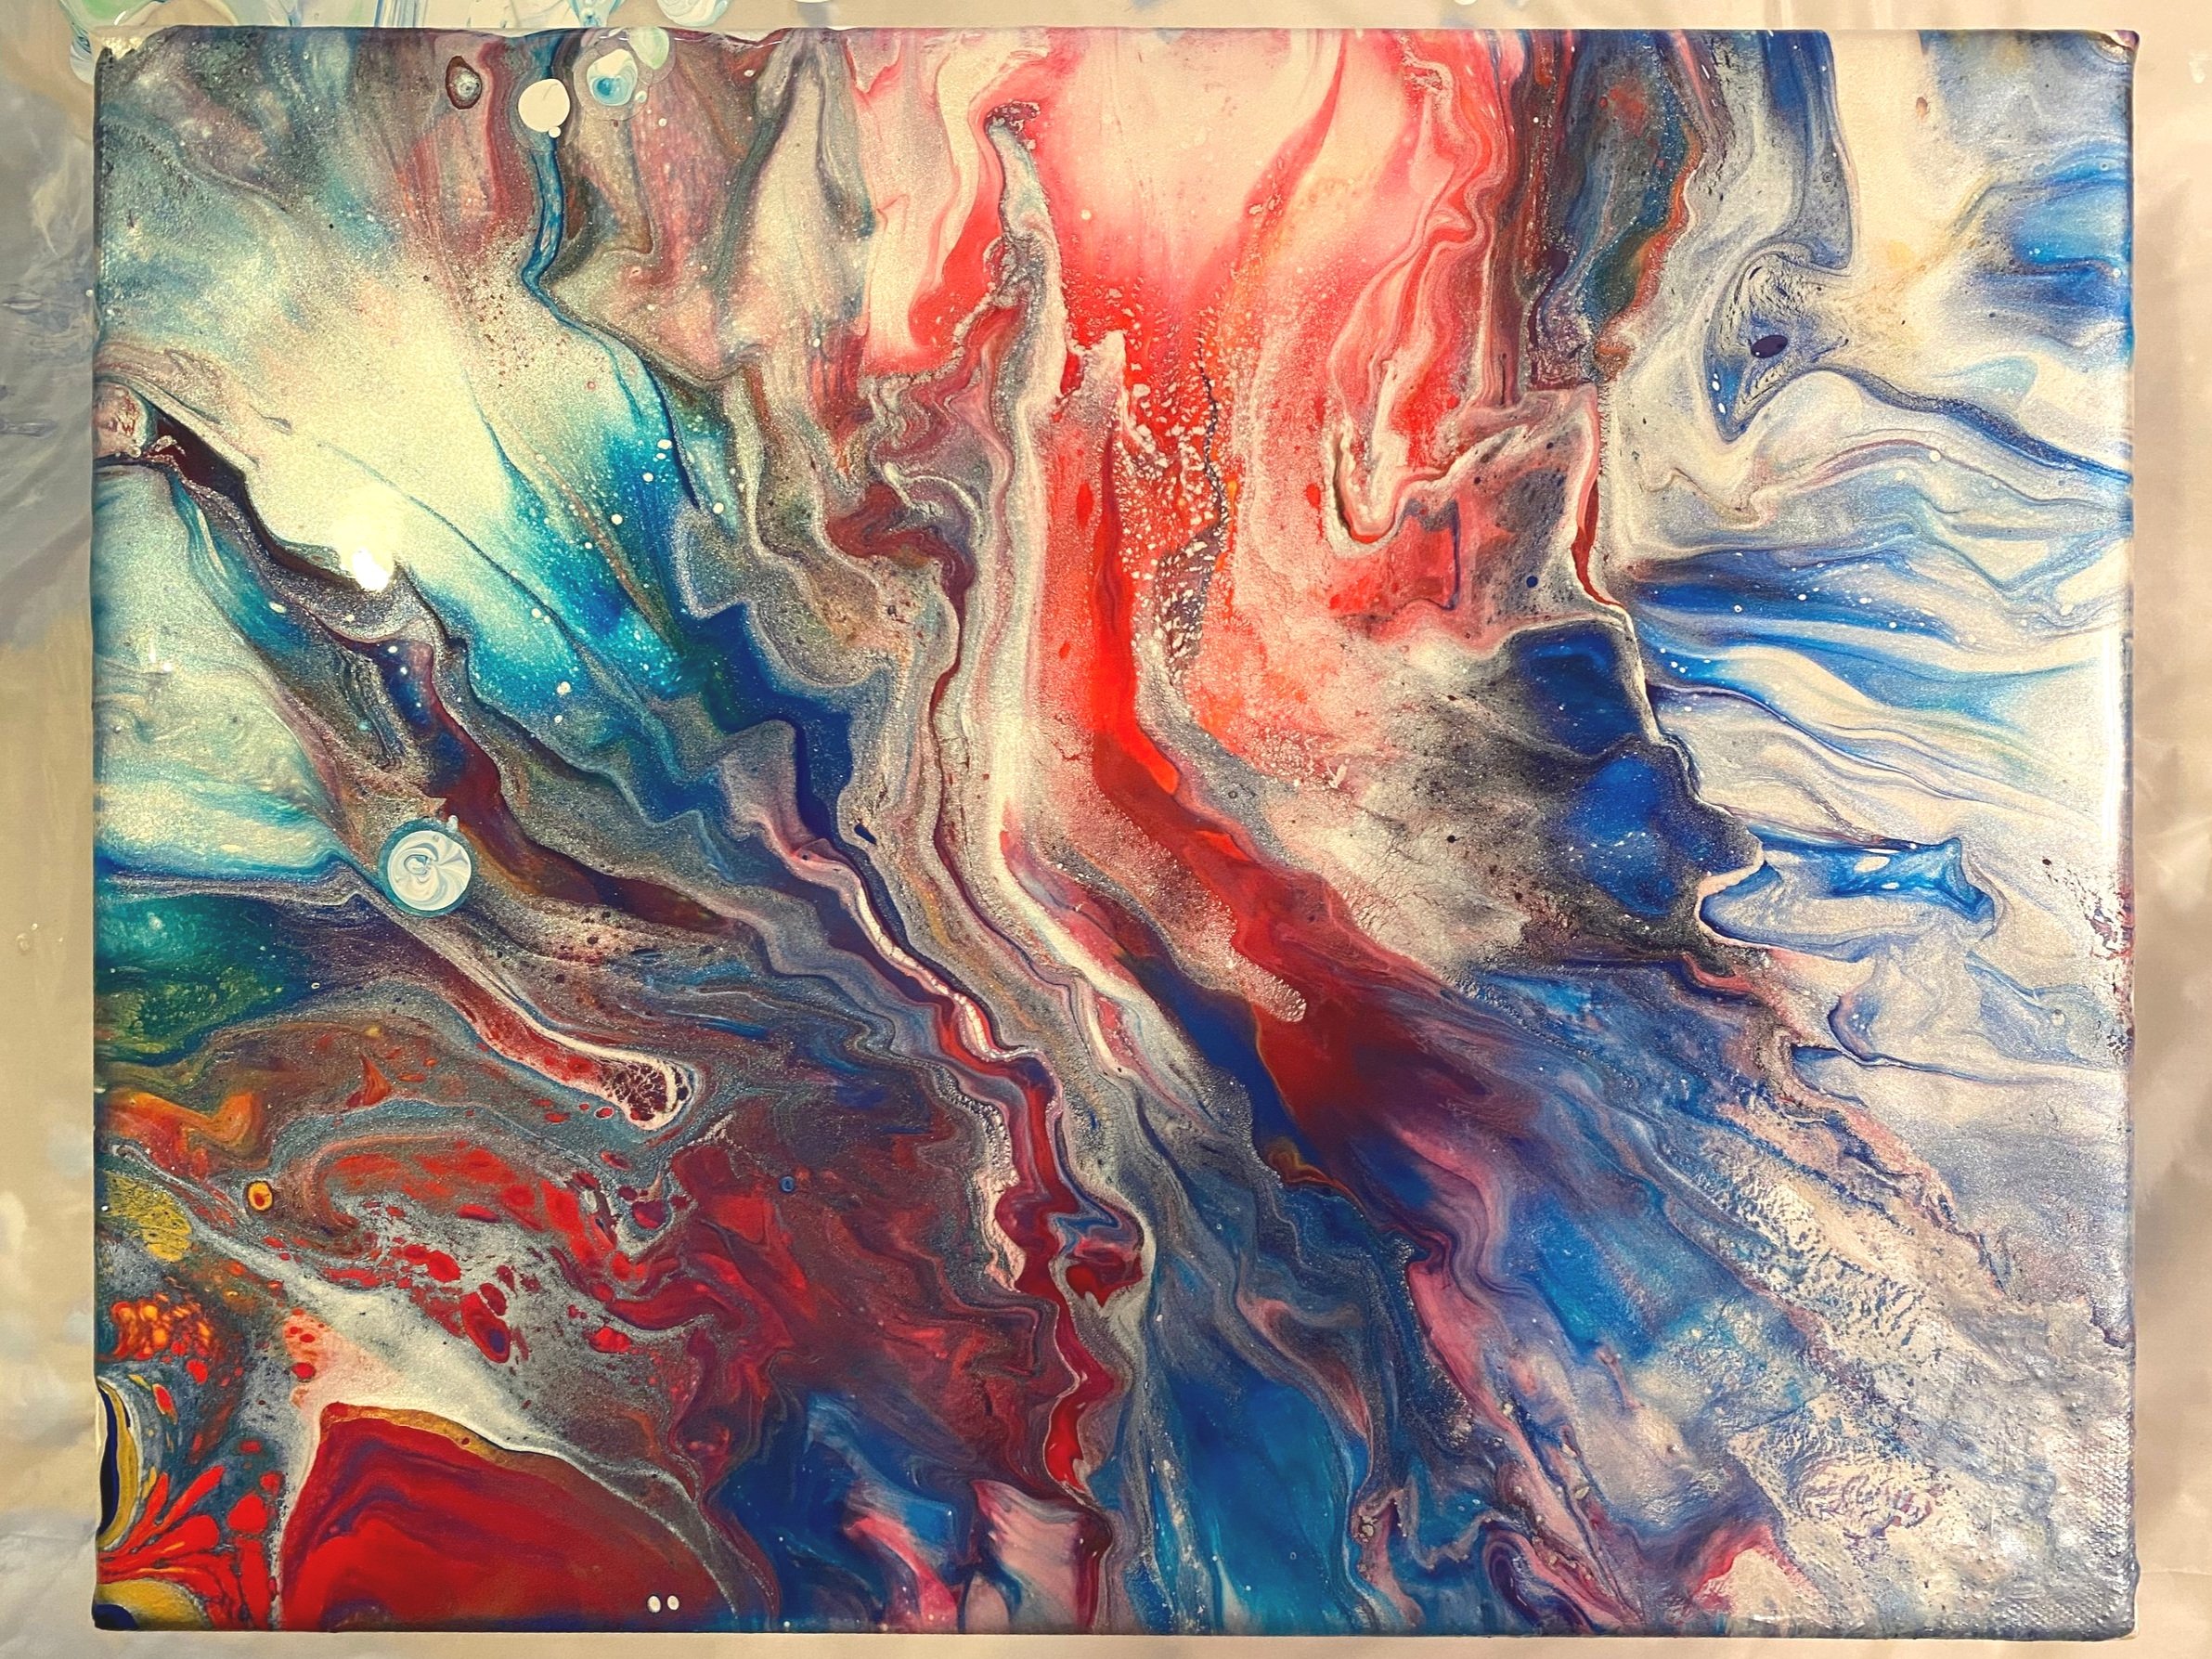
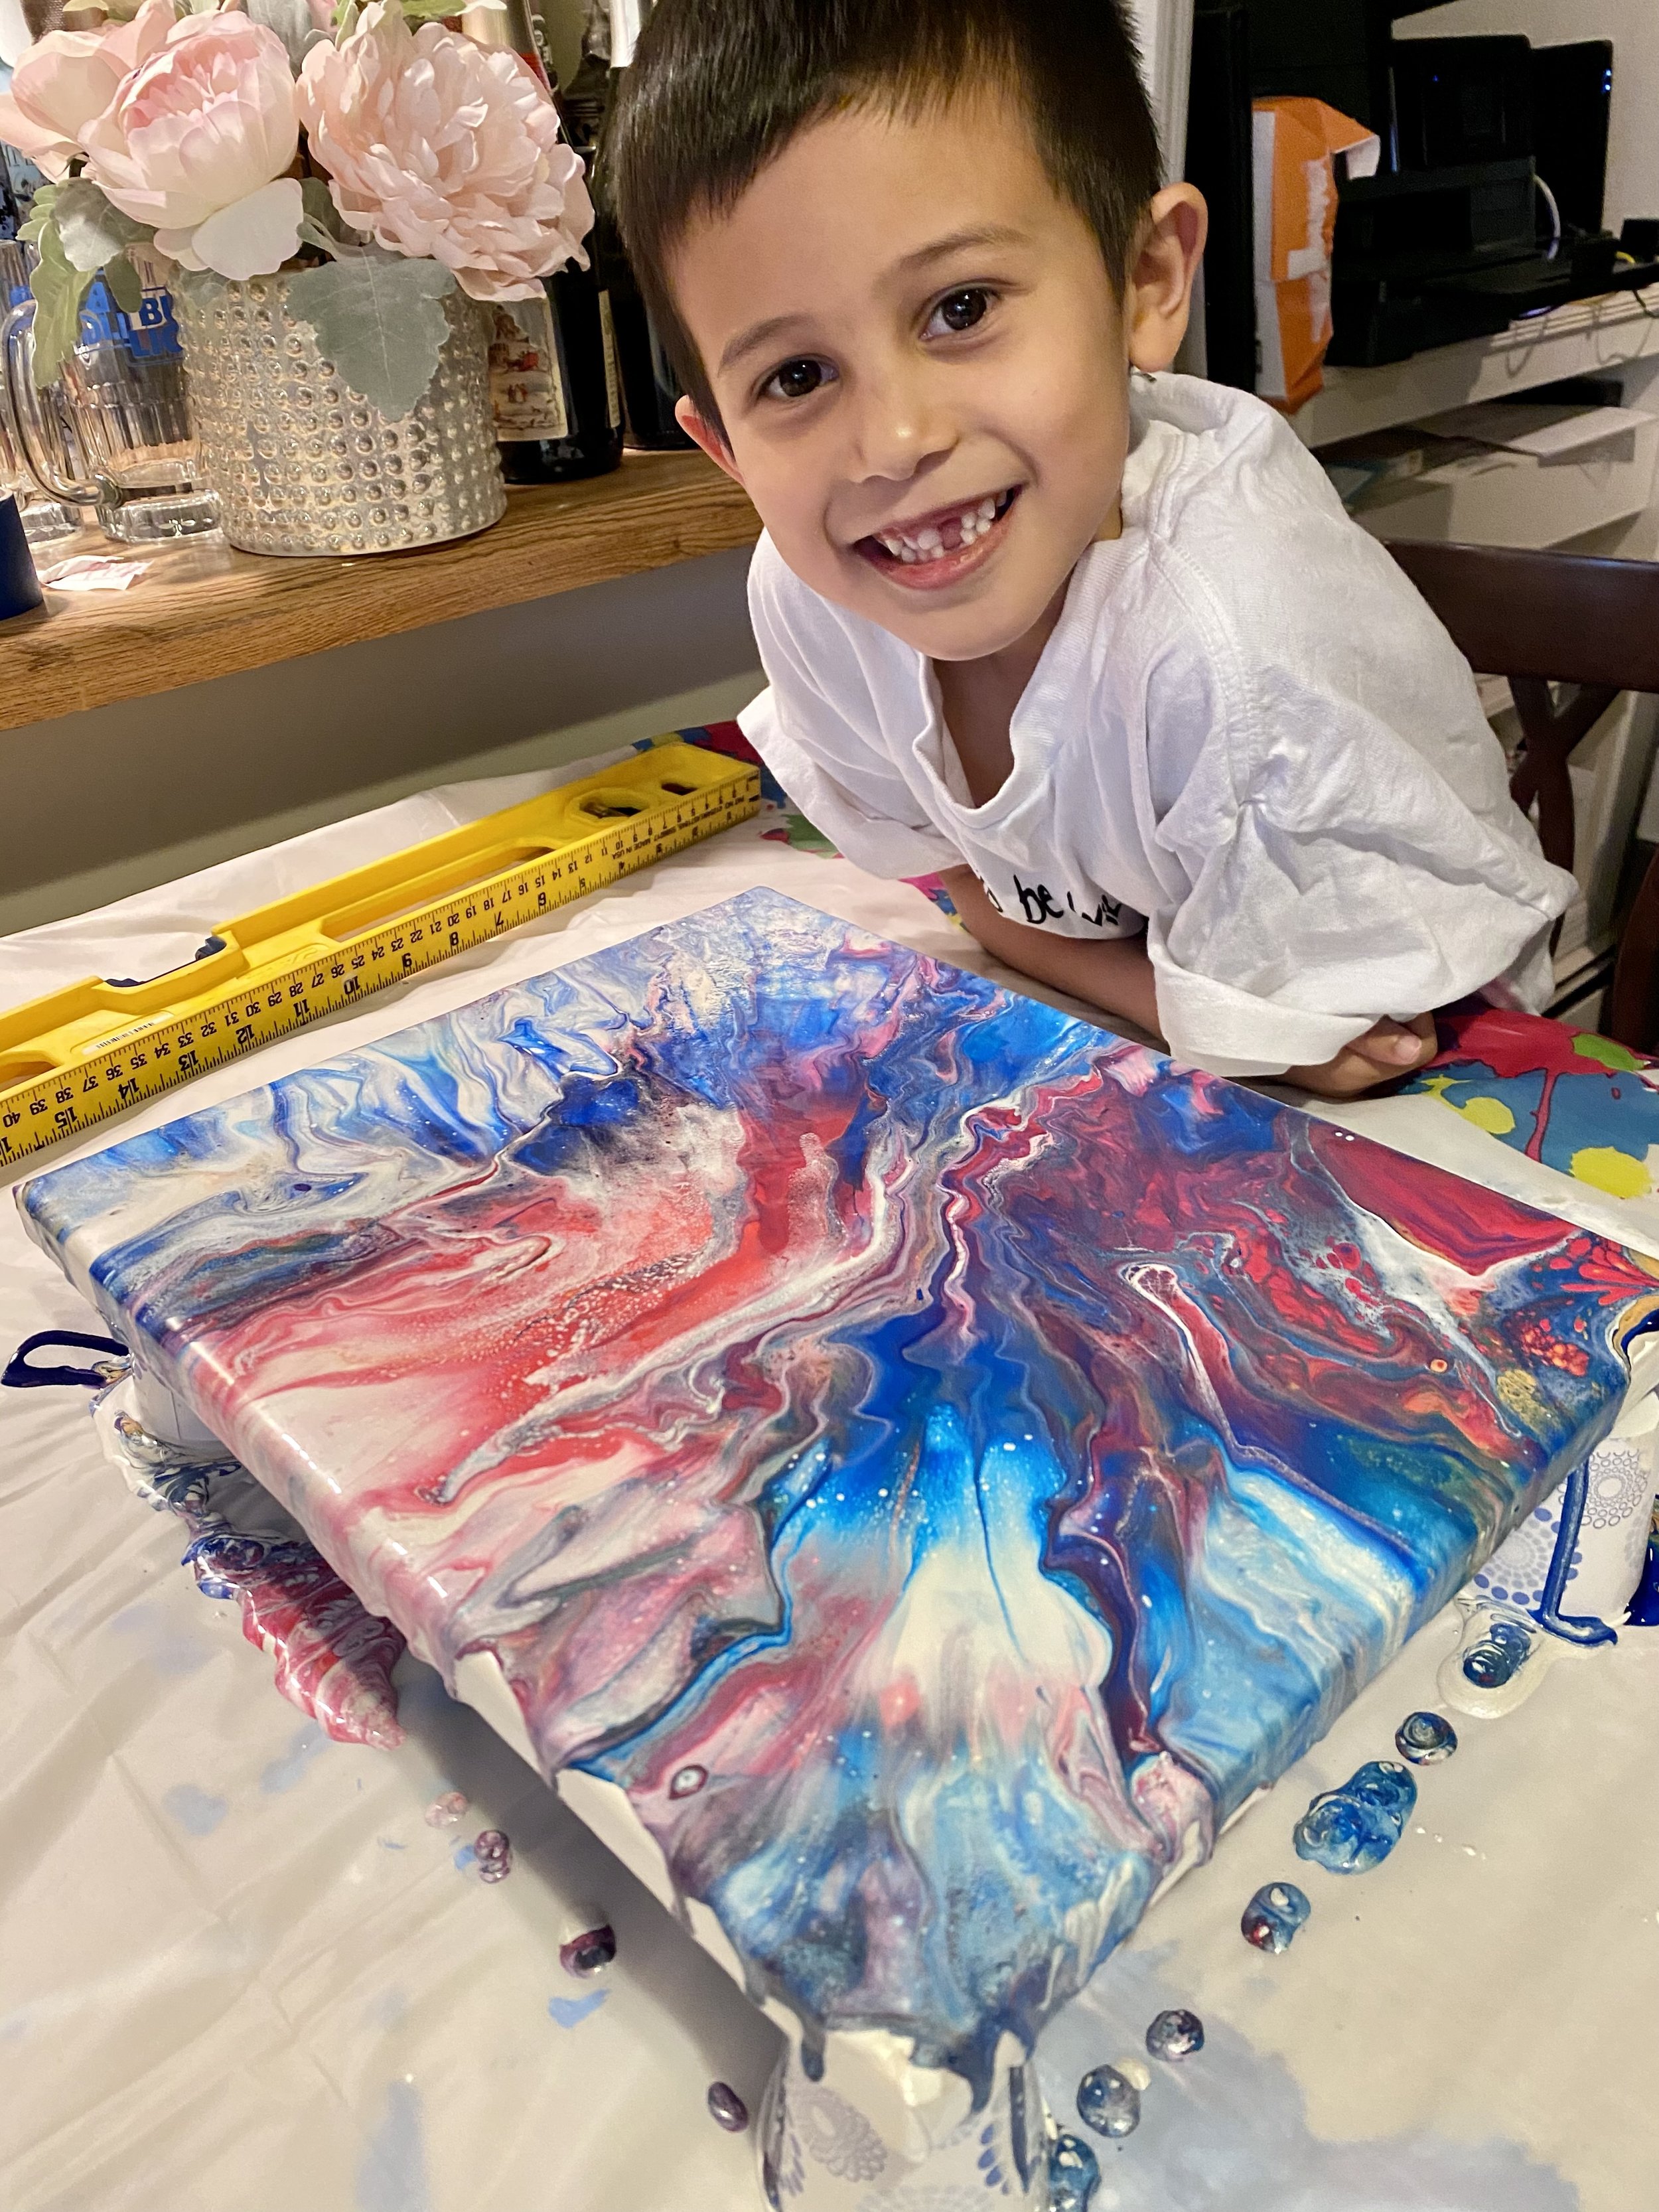
Here’s his finished piece. It reminds him of the NY Giants and I agree. I love it more than my own acrylic pour paintings.
How to do Acrylic Pour

Zack’s color choices: Golden Iridescent Gold (Fine), Golden Ultramarine Violet, Golden Fluorescent Pink, Liquitex Basics Primary Red, Golden Primary Cyan & Golden Phthalo Blue (Red Shade); Base color not pictured: Golden Iridescent Pearl (Fine)
As I mentioned above, there are so many different techniques and variations of this, but we kept it basic. Here’s how we did it, step by step.
Supplies
Newspaper or plastic tablecloth
Acrylic Paint
1 base color
5 - 6 colors
Pouring Medium - we used Floetrol
Dixie cups
Wooden popsicle sticks
Canvas
Cooking Torch
Blow dryer
Preparation
Find a level surface to work on and protect it with newspaper or a plastic tablecloth.
Mount the canvas on 4 upside down Dixie cups. Paint will drip down the sides so mounting it will keep the canvas clean.
Mix each color of acrylic paint with a pouring medium like Floetrol, using a 1 to 1 ratio. To find the right consistency, you may need to tweak the formula based on the weight of the paint. The mixture should be thicker than water but fluid enough to pour down your mixing stick smooth and even like melted ice cream.
Now let’s paint!
Painting Acrylic Pour

Painting Acrylic Pour - Step 1, 2, 3
Pour a generous amount of base coat on the canvas and tilt it around to cover it entirely and evenly.
Pour each color wherever your heart desires. We went from corner to corner, left to right, layering the color like a rainbow.
Pour another strip of base color on either side of the rainbow
Use the blow dryer to blow the base color over the rainbow like a burrito.
Blowing the paint can cause tiny bubbles, use the torch to pop them. I do this is swiftly over the entire painting. Hold it close enough to pop the bubbles but not too close to the burn the paint.
Now angle the blow dryer about 30 degrees and blow the paint from the center point of the rainbow outward to spread over the negative space.
* Keep blowing the rainbow outward in any direction over negative space.
* Blow excess paint over the edge; if the paint is too thick it may crack.
Use the torch again swiftly over the painting to pop the micro bubbles once more.
Recommended drying time is 24 to 72 hours. Based on prior mistakes, I recommend 72 hours.
Viola!
If you try this out or a different technique, I’d love to see and hear about it. Have fun!